The Snipping Tool is one of the most useful built-in utilities in Windows, allowing users to take screenshots effortlessly. Whether you need to capture an entire screen, a specific window, or a free-form selection, this tool makes it easy. Over the years, Microsoft has enhanced the Snipping Tool, merging it with Snip & Sketch to provide an even better screenshot experience.
In this article, we will explore everything you need to know about the Snipping Tool, including how to use it, its features, shortcuts, and alternative screenshot tools. If you are looking for a detailed guide on how to use the Snipping Tool effectively, this is the right place.
What is Snipping Tool?
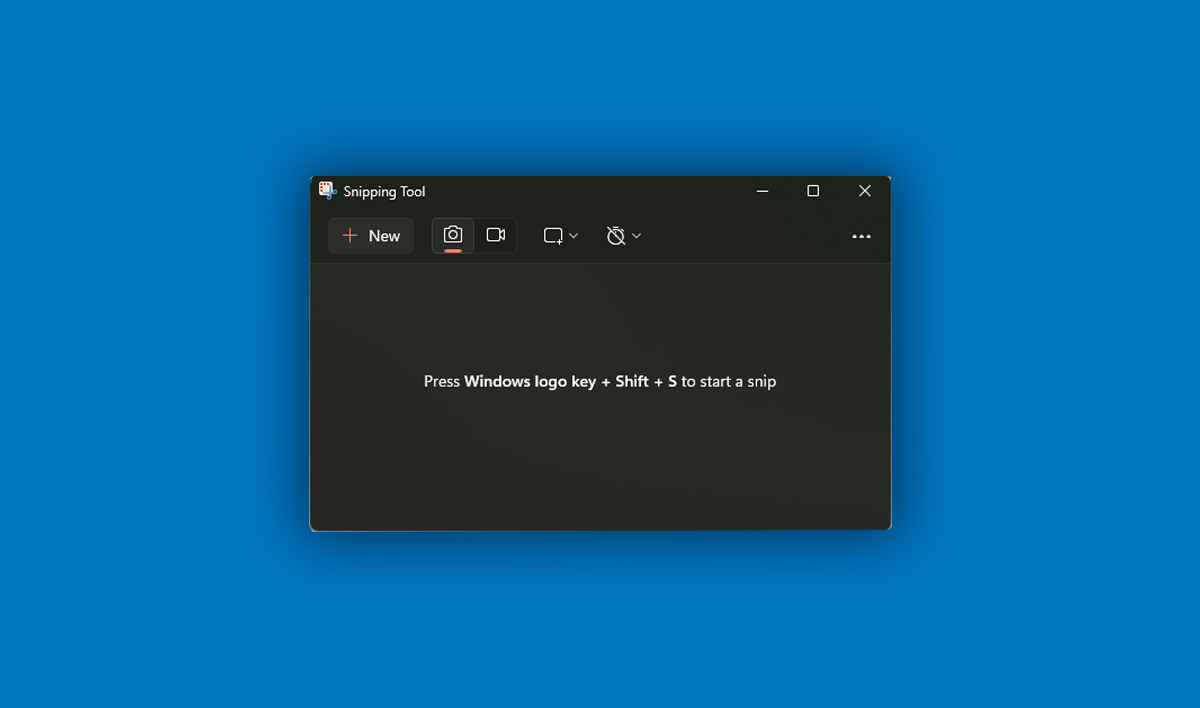
The Snipping Tool is a built-in Windows application that allows users to take screenshots of their screen. It was first introduced in Windows Vista and has been improved in later versions. The tool lets you capture the entire screen, a specific window, or a free-form area and then edit and save the snip.
Features of Snipping Tool
1. Multiple Snip Modes
The Snipping Tool provides different snipping options:
- Free-form Snip – Draw a free-form shape around an area to capture it.
- Rectangular Snip – Capture a rectangular area of the screen.
- Window Snip – Select a specific window to capture.
- Full-screen Snip – Capture the entire screen.
2. Delay Timer
The delay feature allows you to capture menus and pop-ups by setting a timer before the snip is taken.
3. Basic Editing Tools
You can annotate, highlight, and erase parts of the screenshot within the Snipping Tool.
4. Auto Copy to Clipboard
Captured snips are automatically copied to the clipboard for easy pasting into other applications.
5. Save and Share
You can save your snips in PNG, JPG, GIF, or HTML formats and share them via email or messaging apps.
How to Use the Snipping Tool in Windows
Opening the Snipping Tool
- Press Win + S, type Snipping Tool, and click on it.
- Alternatively, press Win + Shift + S to open the snipping toolbar instantly.
Taking a Screenshot
- Open the Snipping Tool and click New.
- Select the type of snip you want (Free-form, Rectangular, Window, or Full-screen).
- Click and drag to capture the desired area.
- Edit the snip if necessary, then save or copy it.
Using Keyboard Shortcuts
- Win + Shift + S – Opens the snipping toolbar.
- Ctrl + S – Saves the snip.
- Ctrl + C – Copies the snip to the clipboard.
- Ctrl + P – Prints the snip.
Snipping Tool vs. Snip & Sketch
Microsoft has integrated the Snipping Tool with Snip & Sketch, enhancing its functionality. Snip & Sketch offers:
- A modern interface with improved editing tools.
- The ability to annotate snips with a pen or touch input.
- Easier sharing options.
To use Snip & Sketch, press Win + Shift + S and select a snip type. The snip is copied to the clipboard, and you can open it in the Snip & Sketch app for editing.
Best Alternatives to Snipping Tool
If you need advanced screenshot features, consider these alternatives:
1. Greenshot
- Free and open-source.
- Allows quick annotations and sharing.
- Can capture scrolling windows.
2. Lightshot — screenshot tool for Mac & Win
- Easy-to-use and lightweight.
- Instant upload and sharing.
- Customizable hotkeys.
3. ShareX
- Free and powerful.
- Supports screen recording and GIF creation.
- Includes advanced editing tools.
4. PicPick
- Advanced editing options.
- Color picker and ruler for designers.
- Screen recording features.
Troubleshooting Snipping Tool Issues
1. Snipping Tool Not Working
If the Snipping Tool is not opening or responding:
- Restart your computer.
- Use Win + Shift + S as an alternative.
- Update Windows to the latest version.
- Reset or reinstall the Snipping Tool via Windows Settings.
2. Screenshots Not Saving
If snips are not saving:
- Check your default save location.
- Ensure you have permission to save files in the selected folder.
- Try saving in a different format (PNG, JPG, etc.).
3. Snipping Tool Shortcut Not Working
If Win + Shift + S doesn’t work:
- Check if another app is overriding the shortcut.
- Update your keyboard drivers.
- Enable Snipping Tool in Windows Settings.
Conclusion
The Snipping Tool remains a valuable built-in utility for Windows users, offering an easy way to capture and edit screenshots. With its various snipping modes, annotation tools, and seamless clipboard integration, it is a reliable choice for everyday use. However, for more advanced needs, tools like Greenshot, Lightshot, or ShareX provide additional features.
By mastering the Snipping Tool, you can enhance your productivity and efficiently capture important information on your screen. Whether you use it for work, study, or personal projects, it’s an indispensable tool for every Windows user.
Read Also:
- Get Help with Notepad in Windows: A Comprehensive Guide
- WordPad: Features, Uses and How to Install in Windows 11