If you want a quick and easy way to create calendar layouts for personal, school, or office use, you don’t need advanced design software. You can easily create a professional-looking calendar using Microsoft Word. Whether you need a monthly planner, yearly overview, or printable desk calendar, Word provides built-in tools and templates that make the process simple.
In this step-by-step guide, you will learn exactly how to create calendar in Microsoft Word using different methods. We’ll cover using built-in templates, creating a calendar from scratch using tables, customizing design, adding holidays, and formatting tips for a polished result.
Method 1: Create Calendar Using Built-in Templates (Easiest Way)
The fastest way to create calendar in Word is by using pre-designed templates.
Step 1: Open Microsoft Word
Launch Microsoft Word on your computer. On the start screen, you’ll see the template search bar.
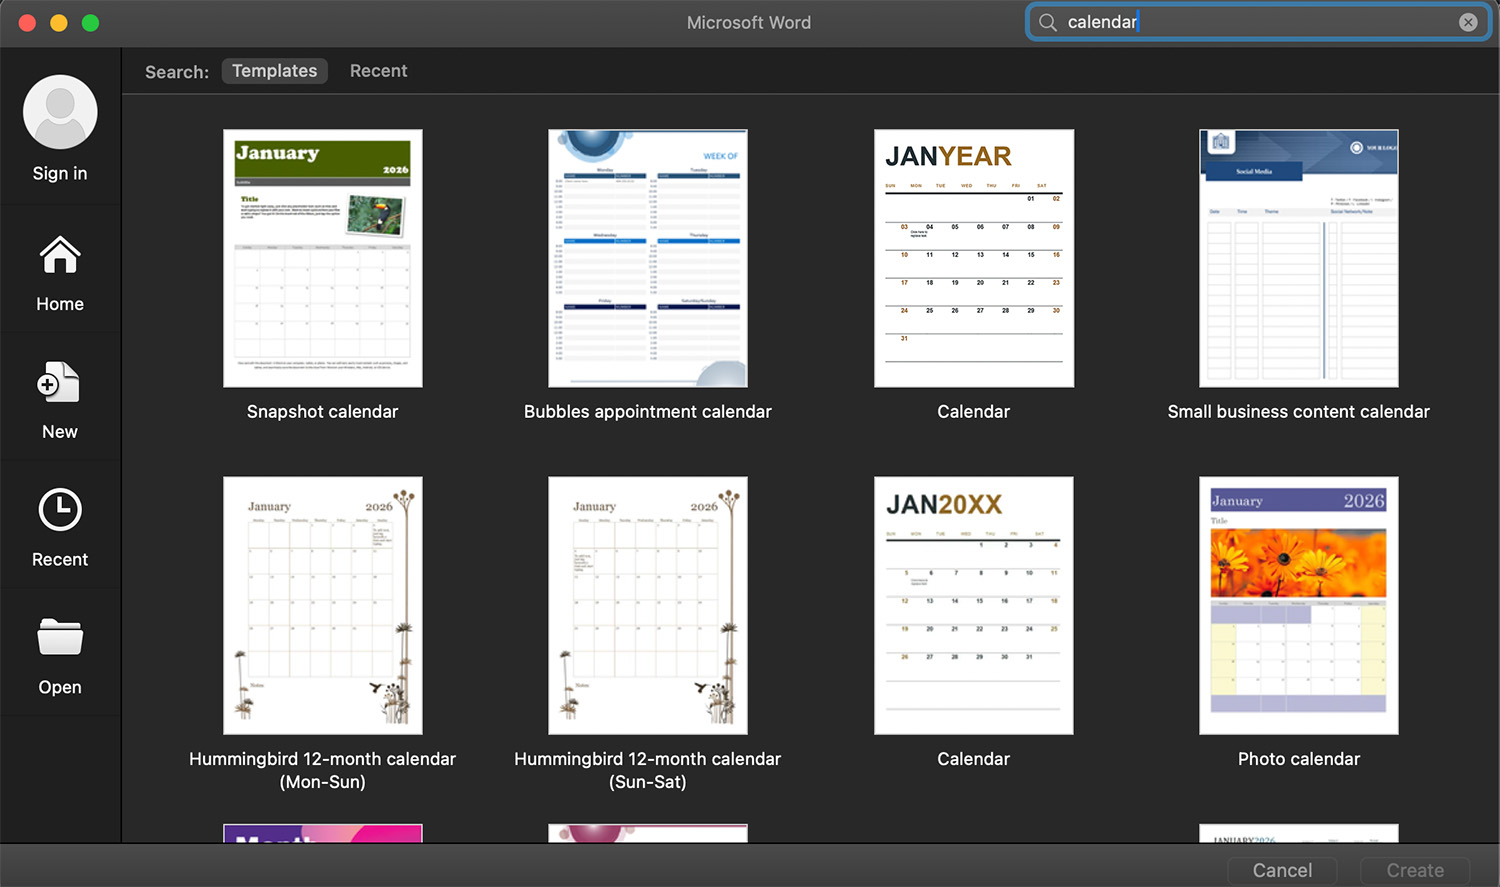
Step 2: Search for Calendar Templates
In the search box at the top, type Calendar, then press Enter.
Word will show multiple calendar template options such as:
- Monthly calendars
- Academic calendars
- Photo calendars
- Yearly planners
Choose the design that fits your needs.
Step 3: Select and Create
Click on your preferred calendar template and then click Create.
Word will automatically download and open the template.
Step 4: Customize the Calendar
Now you can edit:
- Month and year
- Font style and size
- Colors
- Add events and notes
- Insert images
Simply click on any text to edit it.
Step 5: Save or Print
Once finished:
- Click File > Save As
- Choose location
- Save as .docx or PDF
Your calendar is ready!
Method 2: Create Calendar in Word from Scratch (Using Table)
If you want full control over the design, you can manually create calendar using tables.
Step 1: Open a Blank Document
Open Microsoft Word and select Blank Document.
Step 2: Insert a Table
Go to: Insert > Table
For a monthly calendar:
- Choose 7 columns (for 7 days of the week)
- Choose 6 rows (1 header row + 5 weeks)
So select a 7 x 6 table.
Click to insert.
Step 3: Add Days of the Week
In the first row, type:
- Sunday
- Monday
- Tuesday
- Wednesday
- Thursday
- Friday
- Saturday
You can bold the text and center-align it.
Step 4: Adjust Table Size
To make it look like a real calendar:
- Select the entire table
- Go to Table Layout
- Adjust row height and column width
- Make the boxes larger for writing space
You can drag borders manually or set exact dimensions.
Step 5: Enter Dates
Check a calendar reference and enter the dates in the correct boxes.
For example:
- If the 1st starts on Wednesday, type “1” under Wednesday
- Continue filling the numbers sequentially
Step 6: Format the Calendar
To improve appearance:
Center Align Text
Select the entire table and click Center Alignment.
Add Borders
Go to:
Table Design > Borders > All Borders
Change Colors
Use:
Table Design > Shading
You can highlight weekends with a different color.
Method 3: Create Calendar Using Shapes (Advanced Custom Design)
If you want a more creative layout:
- Go to Insert > Shapes
- Draw rectangles for each day
- Add text boxes inside each shape
- Align and group elements
This method is ideal for custom printable wall calendars.
How to Add Holidays Automatically
To add official holidays:
- Manually type holidays inside date boxes
- Or copy a list from a trusted source
If you’re creating a Philippine calendar, include holidays like:
- New Year’s Day
- Independence Day
- Christmas Day
You can also color-code holidays for better visibility.
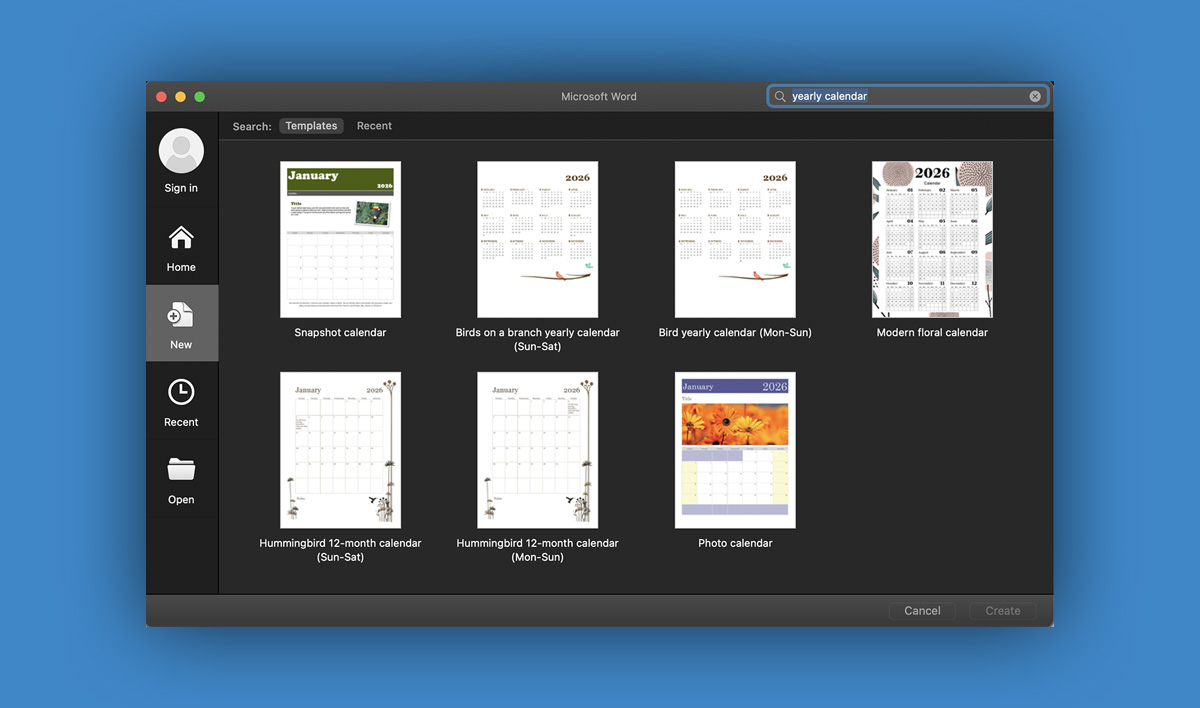
How to Create a Yearly Calendar in Word
If you need a full-year overview:
Option 1: Use Yearly Template
Search “Yearly Calendar” in Word templates.

Option 2: Insert Multiple Monthly Tables
Create 12 smaller tables on one page.
Set page orientation to:
Layout > Orientation > Landscape
This provides more space.
How to Add Design and Personal Touch
To make your calendar more attractive:
1. Add Images
Go to: Insert > Pictures
Add family photos or company logo.
2. Use SmartArt
Insert design elements for headings.
3. Change Fonts
Use clean fonts like:
- Calibri
- Arial
- Times New Roman
4. Add Notes Section
Insert a text box at the bottom for reminders.
How to Create Calendar for Printing
Before printing:
- Go to File > Print
- Check preview
- Set margins properly
- Choose Landscape orientation if needed
- Use thicker paper for durability
For professional output, save as PDF before printing.
Common Problems When You Create Calendar in Word
Table Misalignment
Solution: Use Table Layout > Distribute Rows and Columns evenly.
Dates Not Fitting
Increase row height.
Print Cut-Off
Adjust margins or scale to 100%.
Template Not Editable
Ensure you enable editing at the top of Word.
Frequently Asked Questions (FAQ)
Can I create calendar in Word without internet?
Yes. Once Microsoft Word is installed, you can create calendar offline.
Can I make a weekly calendar?
Yes. Insert a 7-column table and adjust rows for time slots.
Can I share my calendar online?
Yes. Save it as PDF and upload via email or cloud storage.
Summary
Learning how to create calendar in Microsoft Word is a valuable skill for students, teachers, office workers, and business owners. Whether you use a built-in template or create calendar manually using tables, Word gives you flexibility and full control over the design.
The easiest method is using calendar templates, but creating from scratch allows complete customization. With proper formatting, alignment, and design adjustments, you can produce a professional-looking calendar ready for printing or sharing digitally.
Start practicing today and create calendar layouts tailored to your needs
Read Also: How to Create Professional Resumes with Word Templates