
Google Slides is a powerful, free, and easy-to-use presentation tool that has become a favorite among students, professionals, and educators. With its cloud-based functionality, seamless collaboration features, and compatibility with various devices, Google Slides offers an excellent alternative to traditional presentation software like Microsoft PowerPoint. Whether you’re a beginner or an advanced user, this guide will help you make the most of Google Slides.
What is Google Slides?
Google Slides is a web-based presentation software developed by Google. As part of the Google Workspace suite, it allows users to create, edit, and share presentations online. Unlike traditional software, Google Slides automatically saves progress in real-time, ensuring that users never lose their work.
Key Features of Google Slides
- Cloud-Based – Access your presentations from any device with an internet connection.
- Real-Time Collaboration – Work on the same presentation with teammates, no matter where they are.
- Templates and Themes – Choose from a variety of pre-designed templates to create professional presentations quickly.
- Multimedia Integration – Easily insert images, videos, charts, and animations.
- Offline Mode – Work without an internet connection by enabling offline mode.
- Compatibility – Import and export PowerPoint files (PPT, PPTX) without losing formatting.
- Presenter View – Use speaker notes and audience tools while presenting.
- Customizable Slide Transitions – Enhance presentations with smooth transitions and animations.
How to Use Google Slides
1. Getting Started
To start using Google Slides, follow these steps:
- Go to Google Slides.
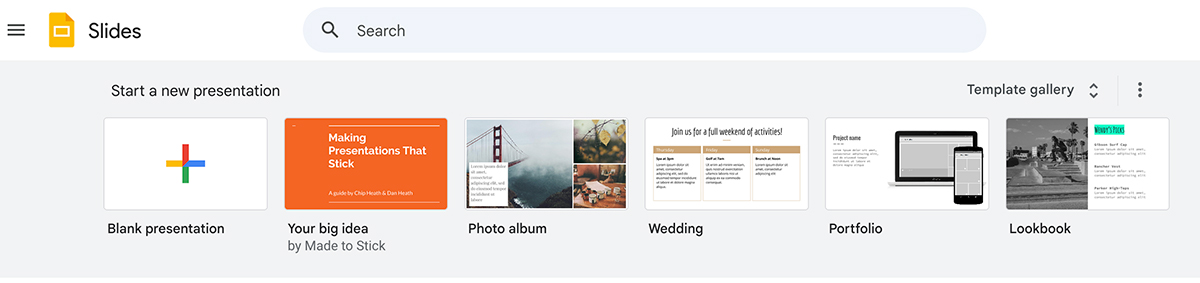
- Click on the Blank Presentation option or choose from the available templates.
- Use the File menu to rename and organize your presentations.
- Set up Page Setup under the File menu to adjust slide dimensions.
2. Creating a Presentation
- Add Slides: Click the + button or press
Ctrl + Mto insert a new slide. - Apply Themes: Use the Themes panel to choose a professional design.
- Customize Layouts: Modify slide layouts using the Slide menu.
- Use Master Slides: Customize fonts, colors, and designs across all slides by editing the Slide Master under the View menu.
3. Adding and Formatting Content
- Text: Click inside a text box to type and format text using fonts, colors, and styles.
- Images & Videos: Use Insert > Image/Video to add media from your device, Google Drive, or YouTube.
- Charts & Tables: Use Insert > Chart/Table to visualize data with bar, pie, or line charts.
- Shapes & Icons: Use Insert > Shape to add design elements and make slides visually appealing.
- Animations & Transitions: Use Animations under the View menu to add fade-ins, zoom effects, and motion paths.
- Hyperlinks: Link text or images to websites, slides, or external documents using
Ctrl + K.
4. Collaborating with Others
Google Slides shines in collaboration. Click Share and enter email addresses to invite others. You can set permissions to edit, comment, or view.
- Commenting: Click Insert > Comment to leave feedback or suggestions.
- Version History: Use File > Version History > See Version History to track changes and restore previous versions.
5. Presenting Your Slides
Click the Present button to enter fullscreen mode. Use keyboard shortcuts like:
Arrow keys: Navigate slidesEsc: Exit presentation modeS: Open speaker notesCtrl + Shift + F5: Start presentation from the beginningCtrl + Enter: Jump to a specific slide number- Q&A Feature: Use Tools > Q&A to engage with your audience in real-time.
Advanced Tips for Google Slides
1. Using Add-ons
Google Slides supports add-ons for enhanced functionality. Some popular ones include:
- Pear Deck – For interactive presentations with quizzes and polls.
- Slides Toolbox – For bulk editing slides.
- Lucidchart – For inserting professional diagrams.
- Icons by Noun Project – For adding high-quality icons.
2. Keyboard Shortcuts for Efficiency
Ctrl + D– Duplicate slidesCtrl + Shift + C– Copy formattingCtrl + Shift + V– Paste formattingCtrl + Alt + Shift + H– Open revision historyCtrl + Shift + Left/Right Arrow– Rearrange slides quicklyCtrl + Shift + Up/Down Arrow– Move objects precisely
3. Embedding Google Slides in Websites
To embed your presentation:
- Click File > Publish to the web.
- Choose the desired settings (auto-advance slides, start immediately, etc.).
- Copy the embed code and paste it into your website or blog.
Why Use Google Slides Over PowerPoint?
1. Accessibility
Google Slides works seamlessly on any device without requiring additional software installation.
2. Collaboration
Real-time editing and commenting make Google Slides a superior choice for teams.
3. Cost-Effective
It’s completely free, unlike PowerPoint, which requires a Microsoft Office subscription.
4. Auto-Save & Version Control
Google Slides automatically saves work, and you can restore previous versions via File > Version History.
5. Integrations with Google Workspace
Google Slides integrates with Google Docs, Sheets, Drive, and Forms for a complete workflow solution.
6. Mobile and Offline Accessibility
With the Google Slides app, users can edit and present slides on mobile devices, even without an internet connection.
Final Thoughts
Google Slides is an incredibly versatile tool for creating dynamic and engaging presentations. Whether you need it for school, work, or personal projects, its ease of use, cloud-based accessibility, and collaborative features make it a top choice for users worldwide. With its extensive features and integrations, it’s an excellent alternative to traditional presentation software.
Read Also: