Capturing screenshots is an essential skill for both personal and professional use. Whether you need to save an error message, capture a high score, or document an important moment, knowing how to take a screenshot on Windows can be incredibly useful. In this guide, we will explore multiple methods to screenshot on Windows, including built-in tools and third-party software.
1. How to Screenshot on Windows Using the Print Screen (PrtScn) Key
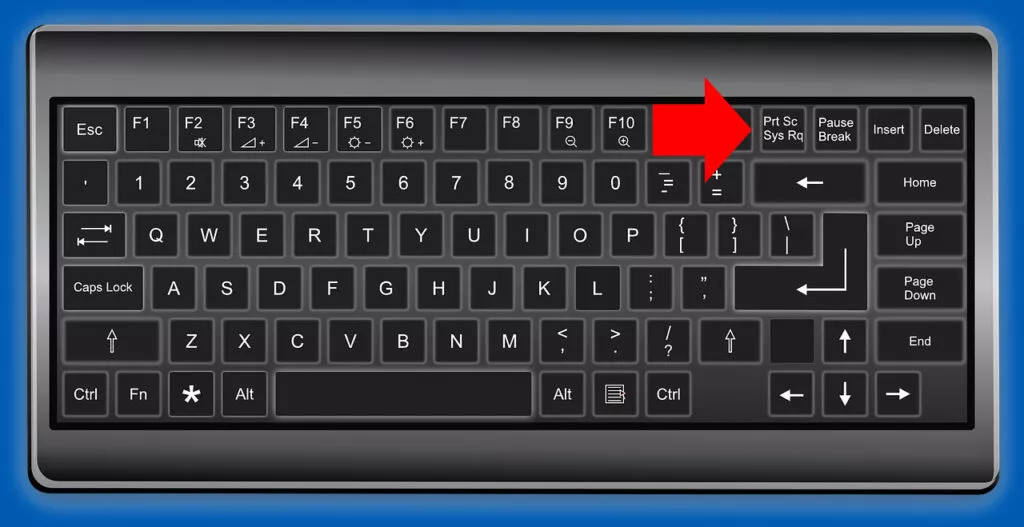
One of the simplest ways to take a screenshot on Windows is by using the Print Screen (PrtScn) key. Here’s how:
Method 1: Capture the Entire Screen
- Press the PrtScn key on your keyboard.
- The screenshot is copied to your clipboard.
- Open an image editor like Microsoft Paint, Photoshop, or Word.
- Press Ctrl + V to paste the screenshot.
- Save the file in your preferred format (PNG, JPEG, or BMP).
Method 2: Capture the Active Window Only
- Click on the window you want to capture.
- Press Alt + PrtScn.
- Open an image editor and paste the screenshot (Ctrl + V).
- Save the file.
Method 3: Save Screenshot Automatically
- Press Windows + PrtScn.
- The screen will briefly dim, indicating a screenshot was taken.
- The screenshot is automatically saved in the Pictures > Screenshots folder.
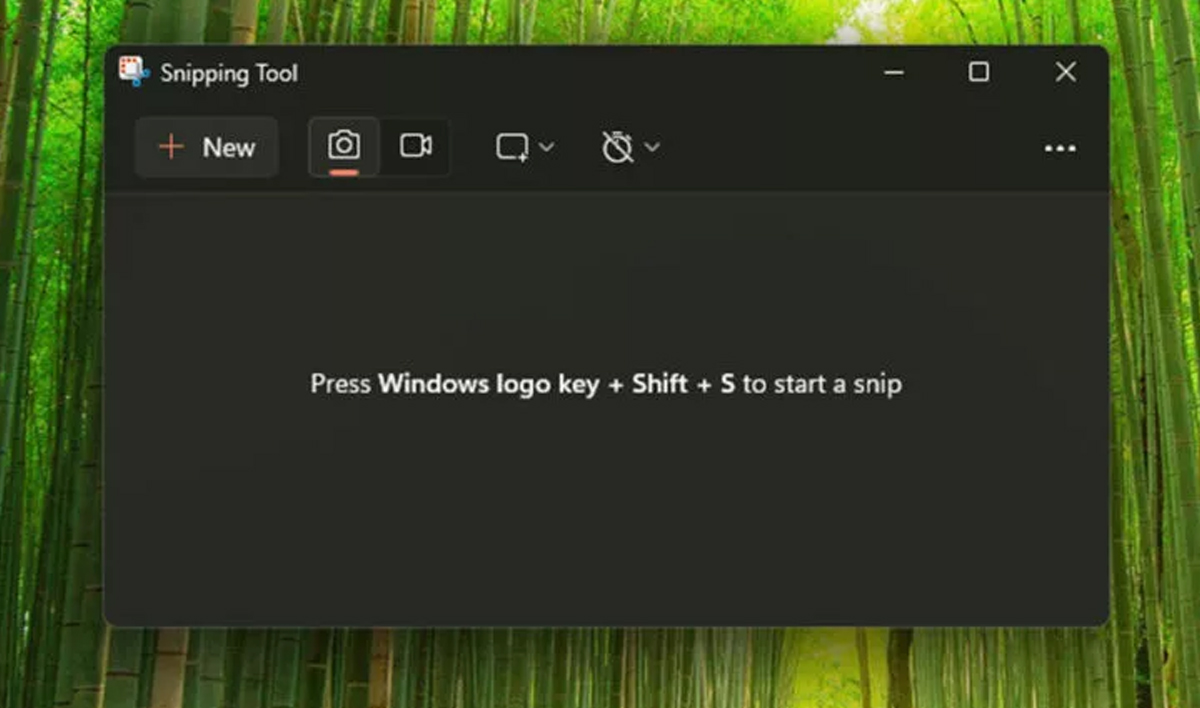
2. How to Take a Screenshot on Windows Using Snipping Tool
The Snipping Tool is a built-in screenshot utility in Windows that allows you to capture specific portions of the screen.
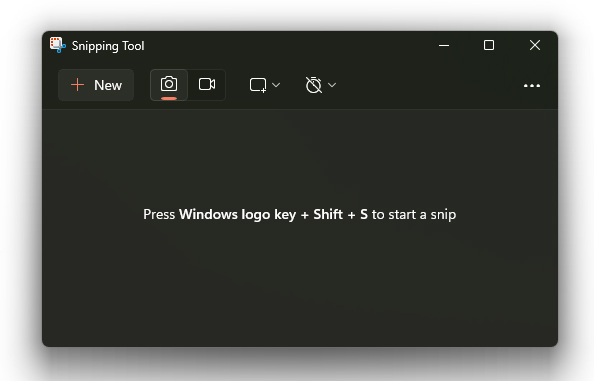
How to Use the Snipping Tool:
- Open the Snipping Tool by searching for it in the Start Menu.
- Click New to start a snip.
- Select from different snip types:
- Free-form Snip – Draw a shape around what you want to capture.
- Rectangular Snip – Drag to capture a rectangular area.
- Window Snip – Capture a specific window.
- Full-screen Snip – Capture the entire screen.
- Once captured, the snip opens in the Snipping Tool editor.
- Save or edit the screenshot as needed.
- To annotate the snip, use the built-in pen, highlighter, or eraser.
- You can also share the screenshot directly using email or OneNote.
3. How to Screenshot on Windows Using Snip & Sketch
Snip & Sketch is an upgraded version of the Snipping Tool available in Windows 10 and Windows 11.
How to Use Snip & Sketch:
- Press Windows + Shift + S.
- Your screen will dim, and a selection toolbar appears.
- Choose the snipping mode (rectangular, free-form, window, or full-screen).
- The captured screenshot is copied to the clipboard.
- Click the notification popup to open Snip & Sketch.
- Edit the screenshot using drawing tools, cropping, or text annotations.
- Save the image in your desired format or share it online.
4. How to Take a Screenshot Using the Game Bar
Windows 10 and Windows 11 include an Xbox Game Bar, which allows gamers to capture screenshots.
How to Use Game Bar for Screenshots:
- Open the window or game you want to capture.
- Press Windows + G to open the Game Bar.
- Click the Camera icon or press Windows + Alt + PrtScn to take a screenshot.
- Screenshots are saved in the Videos > Captures folder.
- You can also record gameplay using the Game Bar.
5. How to Screenshot on Windows Using Third-Party Software
If you need more advanced features like annotations, cloud storage, or GIF creation, consider third-party screenshot tools:
Popular Screenshot Tools for Windows:
- Lightshot – Quick and easy with built-in editing, instant upload, and cloud sharing.
- Greenshot – Open-source tool with powerful editing, annotation, and direct sharing options.
- Snagit – Professional tool with advanced editing, screen recording, and scrolling screenshot capabilities.
- ShareX – Free tool with screen recording, GIF creation, OCR (text recognition), and direct cloud upload.
6. How to Screenshot on Windows and Save as PDF
Sometimes, you may need to save a screenshot as a PDF. Here’s how:
Steps to Save Screenshot as PDF:
- Capture a screenshot using any of the methods above.
- Open Microsoft Paint, Word, or Photos and paste the screenshot.
- Click File > Print.
- Select Microsoft Print to PDF as the printer.
- Click Print and save the file as a PDF.
- If using Microsoft Word, you can add multiple screenshots in a document before saving as a PDF.
7. How to Screenshot on Windows with a Laptop Keyboard
If you are using a laptop, the PrtScn key might require an additional key press:
Laptop Screenshot Shortcuts:
- Fn + PrtScn – Copies the screen to the clipboard.
- Fn + Windows + PrtScn – Saves screenshot automatically.
- Fn + Alt + PrtScn – Captures the active window.
- Using Touchscreen? On Surface devices, use Power + Volume Down.
8. How to Screenshot a Scrolling Window on Windows
Some applications don’t fit in a single screen, requiring scrolling screenshots. Here’s how to do it:
Method 1: Using Snagit
- Open Snagit and select Capture.
- Click the Scrolling Window option.
- Choose vertical, horizontal, or full-page scrolling.
- Save the captured screenshot.
Method 2: Using ShareX
- Open ShareX and select Capture > Scrolling Capture.
- Select the window to capture and click Start Scrolling Capture.
- Save the final screenshot as needed.
Conclusion
Taking screenshots on Windows is simple and versatile, thanks to various built-in and third-party tools. Whether you prefer the quick PrtScn key, the flexible Snipping Tool, or the powerful Snip & Sketch, there’s a method suited for your needs. For gamers, the Game Bar is an excellent option, while third-party software provides extra functionalities like scrolling screenshots and instant sharing. Master these techniques, and you’ll always be ready to capture and share important moments on your Windows device.
Check Also: